Package development
We’ve all been there, you’re starting work on another project, and you realize that you’re going to need a lot of the same code, be it a connection to an API, or a command for generating specific files. Or you’ve realised that something you’ve written could be hugely helpful to others, and you want to give back to the open source community.
This is where packages are so helpful, and you’re about to create one.
Now there are two main ways of doing this:
- Isolated method
- Sub-folder method
Isolated Method
If you’re a TDD fan, or building something more agnostic and maybe it isn’t just for Laravel, this might be the best way for you to go.
No Laravel install, it’s just you, and your src and tests folders.
Sub-folder Method
This is my general go to when I’m creating packages for a Laravel application. Most of the time this comes mid project when I suddenly realise that this could or should be a package. I can move any code I’ve already written into a sub folder, and then create the package concurrently with developing the rest of the application.
This is what we’re going to focus on in here.
Create a packages folder
First of all, you’re going to need a place to put all your code. I will normally do this in a packages/namespace/package-name folder, in this example we’re going to create a quick package that will e.g. packages/adzchappers/my-new-package
Chances are, you’re going to be wanting to have this package be used in other systems, so add the packages folder to your .gitignore so we can’t add it to the main system repository, and then run a git init on the individual package folder so we can push this to version control.
Inside this folder I’ll also add a few folders that I’ll need:
src/- This is where our package code is going to livesrc/PackageServiceProvider.php- How Laravel knows what to do with your codetests/- We all love testing, right?!config/- If you’re going to have any adjustable configuration options, I always have a folder for itcomposer.json- It’s a package, we’re using PHP, we need this
packages/
└── adzchappers/
    └── my-new-package/
        ├── config/
        │   └── my-new-package.php
        ├── src/
        │   └── PackageServiceProvider.php
        ├── tests/
└── composer.jsonInitialising Composer
Now we need to initialise this folder as a composer project. We can do this one of two ways, either we manually add some data to the composer.json file, or we can head to the terminal, traverse to our package folder and run composer init. This will then start a small wizard in the terminal window asking you some questions about your project.
Just remember, it isn’t “Laravel aware” yet.
{
    "name": "adzchappers/my-new-package",
    "description": "A description for what My New Package does",
    "type": "library",
    "license": "MIT",
    "authors": [
        {
            "name": "Adz Chappers",
            "homepage": "https://adzchappers.dev"
        }
    ],
    "autoload": {
        "psr-4": {
            "AdzChappers\\MyNewPackage\\": "src/"
        }
    },
    "autoload-dev": {
        "psr-4": {
            "AdzChappers\\MyNewPackage\\Tests\\": "tests/"
        }
    },
    "require": {
        "php": "^8.2"
    },
    "require-dev": {},
    "minimum-stability": "dev",
    "prefer-stable": true,
    "config": {
        "sort-packages": true,
        "preferred-install": "dist",
        "optimize-autoloader": true
    }
}Becoming Laravel aware
We’re building a package in Laravel, at the very least we are going to need Laravel Support package, and we’re going to need a Service Provider. Let’s start with requiring the Laravel illuminate/support package.
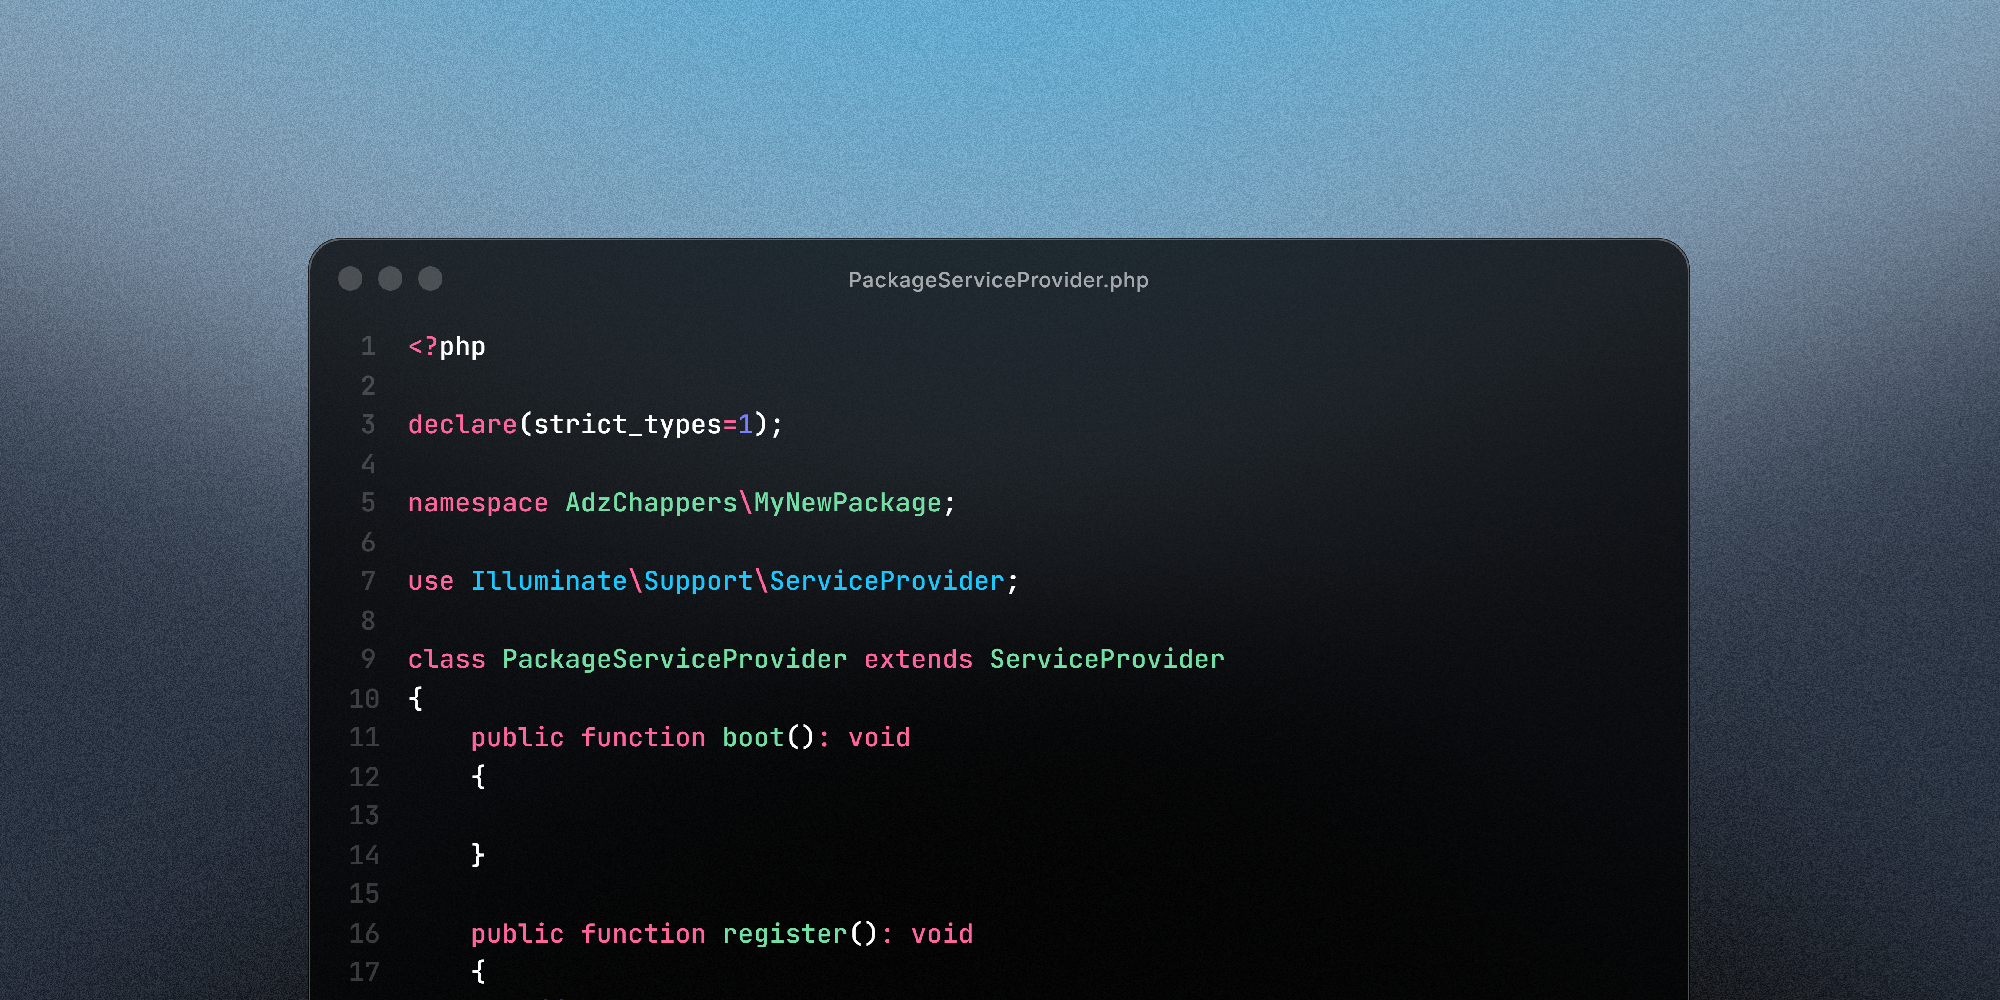
composer require illuminate/supportAfter importing this package, we need to create the ServiceProvider for the package. This file will let your Laravel application know exactly what to do with the files in the package, bindings your code to the Service Container, and bootstrapping and resources so that they’re ready for use.
- The namespace needs to be the same as the one you’ve just put into the composer autoload.
- Classname matches the filename, and extends the
Illuminate\Support\ServiceProvider - Create the base
bootandregisterfunctionsboot- fired after everything in the application including third party libraries have been loaded up, you can use this method to bootstrap any web services, add event listeners across your application, or publish config or database migrationsregister- for extending functionality to your current service provider class before the application is ready through singletons or additional service providers.
<?php

declare(strict_types=1);

namespace AdzChappers\MyNewPackage;

use Illuminate\Support\ServiceProvider;

class PackageServiceProvider extends ServiceProvider
{
    public function boot(): void
    {
        // Maybe we want to have some publishable config?
        $this->publishes([
            __DIR__ . '/../config/my-new-package.php' => config_path('my-new-package.php')
            ], 'config');

        // Or maybe we want to load some views
        $this->loadViewsFrom(__DIR__ . '/../resources/views', 'my-new-package');
    }

    public function register(): void
    {
        // Perhaps we want to merge config in case of future updates and the config was updated
        $this->mergeConfigFrom(
            __DIR__ . '/../config/my-new-package.php',
            'my-new-package'
        );
    }
}
Now that we have the Service Provider, we need to update the package composer.json file so that Laravel will know where to look for it. We’ll be adding the extra root element, which helps with package discovery.
"extra": {
    "laravel": {
        "providers": [
            "AdzChappers\\MyNewPackage\\PackageServiceProvider"
        ]
    }
}Import your package into your application
The last thing we need to do now, is to make sure that your Laravel application can load this in, so we need to update the main application composer.json file.
Normally when you need to import a package into your work you’d run composer require adzchappers/my-new-package however, this won’t work, the code hasn’t been pushed to github, and a packagist entry hasn’t been created, so composer won’t know what to do with this. We have the code locally, so now to let composer know where it is.
To do this, we need to add a repositories root entry to the application composer.json
"repositories": [
    {
        "type": "path",
        "url": "./packages/adzchappers/my-new-package"
    }
],
NOTE
Because the type is path, Composer will create a symbolic link from your vendor folder to your packages folder. This means any change you make in the package folder is reflected instantly in your Laravel app!
After adding this in, now we can finally call composer to require this package.
composer require adzchappers/my-new-package:@devAnd there you go! You’ve got your package working locally and importing! Now all that’s left to do is add more features to your package, and write some tests.
Testing your package
For testing a Laravel Package you’re going to want orchestra/testbench as well as phpunit or pest. You’ll want to run these inside your package folder, this will now allow you to create tests within your package to confirm that your code works as expected.
composer require --dev orchestra/testbench
composer require pestphp/pest --dev --with-all-dependencies
./vendor/bin/pest --init
We need a TestCase.php file to boot up the Laravel environment for your package tests.
<?php

namespace AdzChappers\MyNewPackage\Tests;

use AdzChappers\MyNewPackage\PackageServiceProvider;
use Orchestra\Testbench\TestCase as Orchestra;

class TestCase extends Orchestra
{
    protected function getPackageProviders($app)
    {
        return [
            PackageServiceProvider::class,
        ];
    }
}
Create a tests/Pest.php file. This tells Pest to use your custom TestCase (the one that loads your Service Provider) for all your tests.
<?php

uses(AdzChappers\MyNewPackage\Tests\TestCase::class)->in(__DIR__);
And this is you all set up ready to start writing your tests!